

elopement timeline.
A good elopement timeline isn't a schedule. It's a skeleton — designed to hold the day's structure while leaving plenty of space for the moments you can't plan in advance.
That sounds philosophical, but it's actually the most practical thing we can tell you. The couples who try to schedule every minute of their elopement always end up rushed, exhausted, and regretful. The couples who build a strong skeleton with built-in buffer time end up with the day they actually remember fondly.
This guide is going to give you both — a real working skeleton you can adapt, plus two real case studies from elopements we've shot where the timeline mattered. And we're going to start with the single biggest mistake we see couples make.
The #1 timeline mistake we see.
Couples try to fit too much into one day. Always.
It comes from a good place. You've planned this trip for months. You're paying for a photographer, you've coordinated travel, you're at a once-in-a-lifetime location. The instinct is to maximize every second — sunrise hike, ceremony, three different photo locations, a picnic, a sunset shoot, dinner under the stars.
By 4pm everyone is exhausted. By 7pm somebody is in tears. Not the good kind.
The single best advice we can give you about your timeline is this:
The mountain road takes 30 minutes? Plan for 45. The hike to the viewpoint takes an hour? Plan for 90 minutes. The ceremony is 20 minutes? Block off an hour. Everything takes longer than you think it will.
The day that feels relaxed and intentional is the day where everything fits with room to spare. That's the day you'll want to remember.
Start with what you actually want to protect.
Before you pencil in a single time, sit down with your partner and answer one question: what are the moments that absolutely have to feel right?
Not what looks good on Pinterest. Not what other elopement blogs tell you to do. The moments YOU can't compromise on. For most couples, this is a short list:
- The ceremony itself — vows, the actual exchange of "yes"
- One quiet moment alone together right after
- The "best" photo location of the day, whatever that is for you
- A real meal where you're not on camera
- Sunset, if it matters to you
Most days have 4 or 5 things that truly matter. Build the timeline around protecting those. Everything else is bonus.
The light dictates your day.
If there's one thing your photographer will lobby hard for, it's planning around the light. There's a reason for this — the difference between an elopement portrait taken at noon and one taken at golden hour is the difference between a snapshot and an heirloom.
Three magic windows for adventure elopements:
- Sunrise. Soft, ethereal, almost no other people on the trail or at the viewpoint. Best for couples who don't mind getting up early. Bonus: most popular destinations are virtually empty at sunrise.
- Golden hour (the 60-90 minutes before sunset). Warm, flattering, the most "magical light" of the day. Most popular for couples who don't want a 5am alarm.
- Blue hour (15-30 minutes after sunset). Moody, dramatic, cinematic. Often overlooked. Some of our favorite portraits happen in this window.
Whichever window you choose, build your ceremony around it. Don't let logistics push your ceremony into harsh midday light. Move the rest of the day around the ceremony, not the other way around.
A skeleton timeline that actually works.
This is the structural framework we recommend most couples start with — a sunrise ceremony with the rest of the day built around it. Adjust to fit your destination, energy level, and adventure plans.
Building around early light.
Notice what this skeleton does: it protects the ceremony, protects the portraits, protects a real meal, and then opens up. The first half of the day is structured. The second half is yours. That's the right ratio for most adventure elopements.
Two real timelines from real shoots.
Theory is helpful. Real examples are better. Here are two actual timelines from elopements we've shot — and the lessons each one taught us.
The 3-day weekend structure.
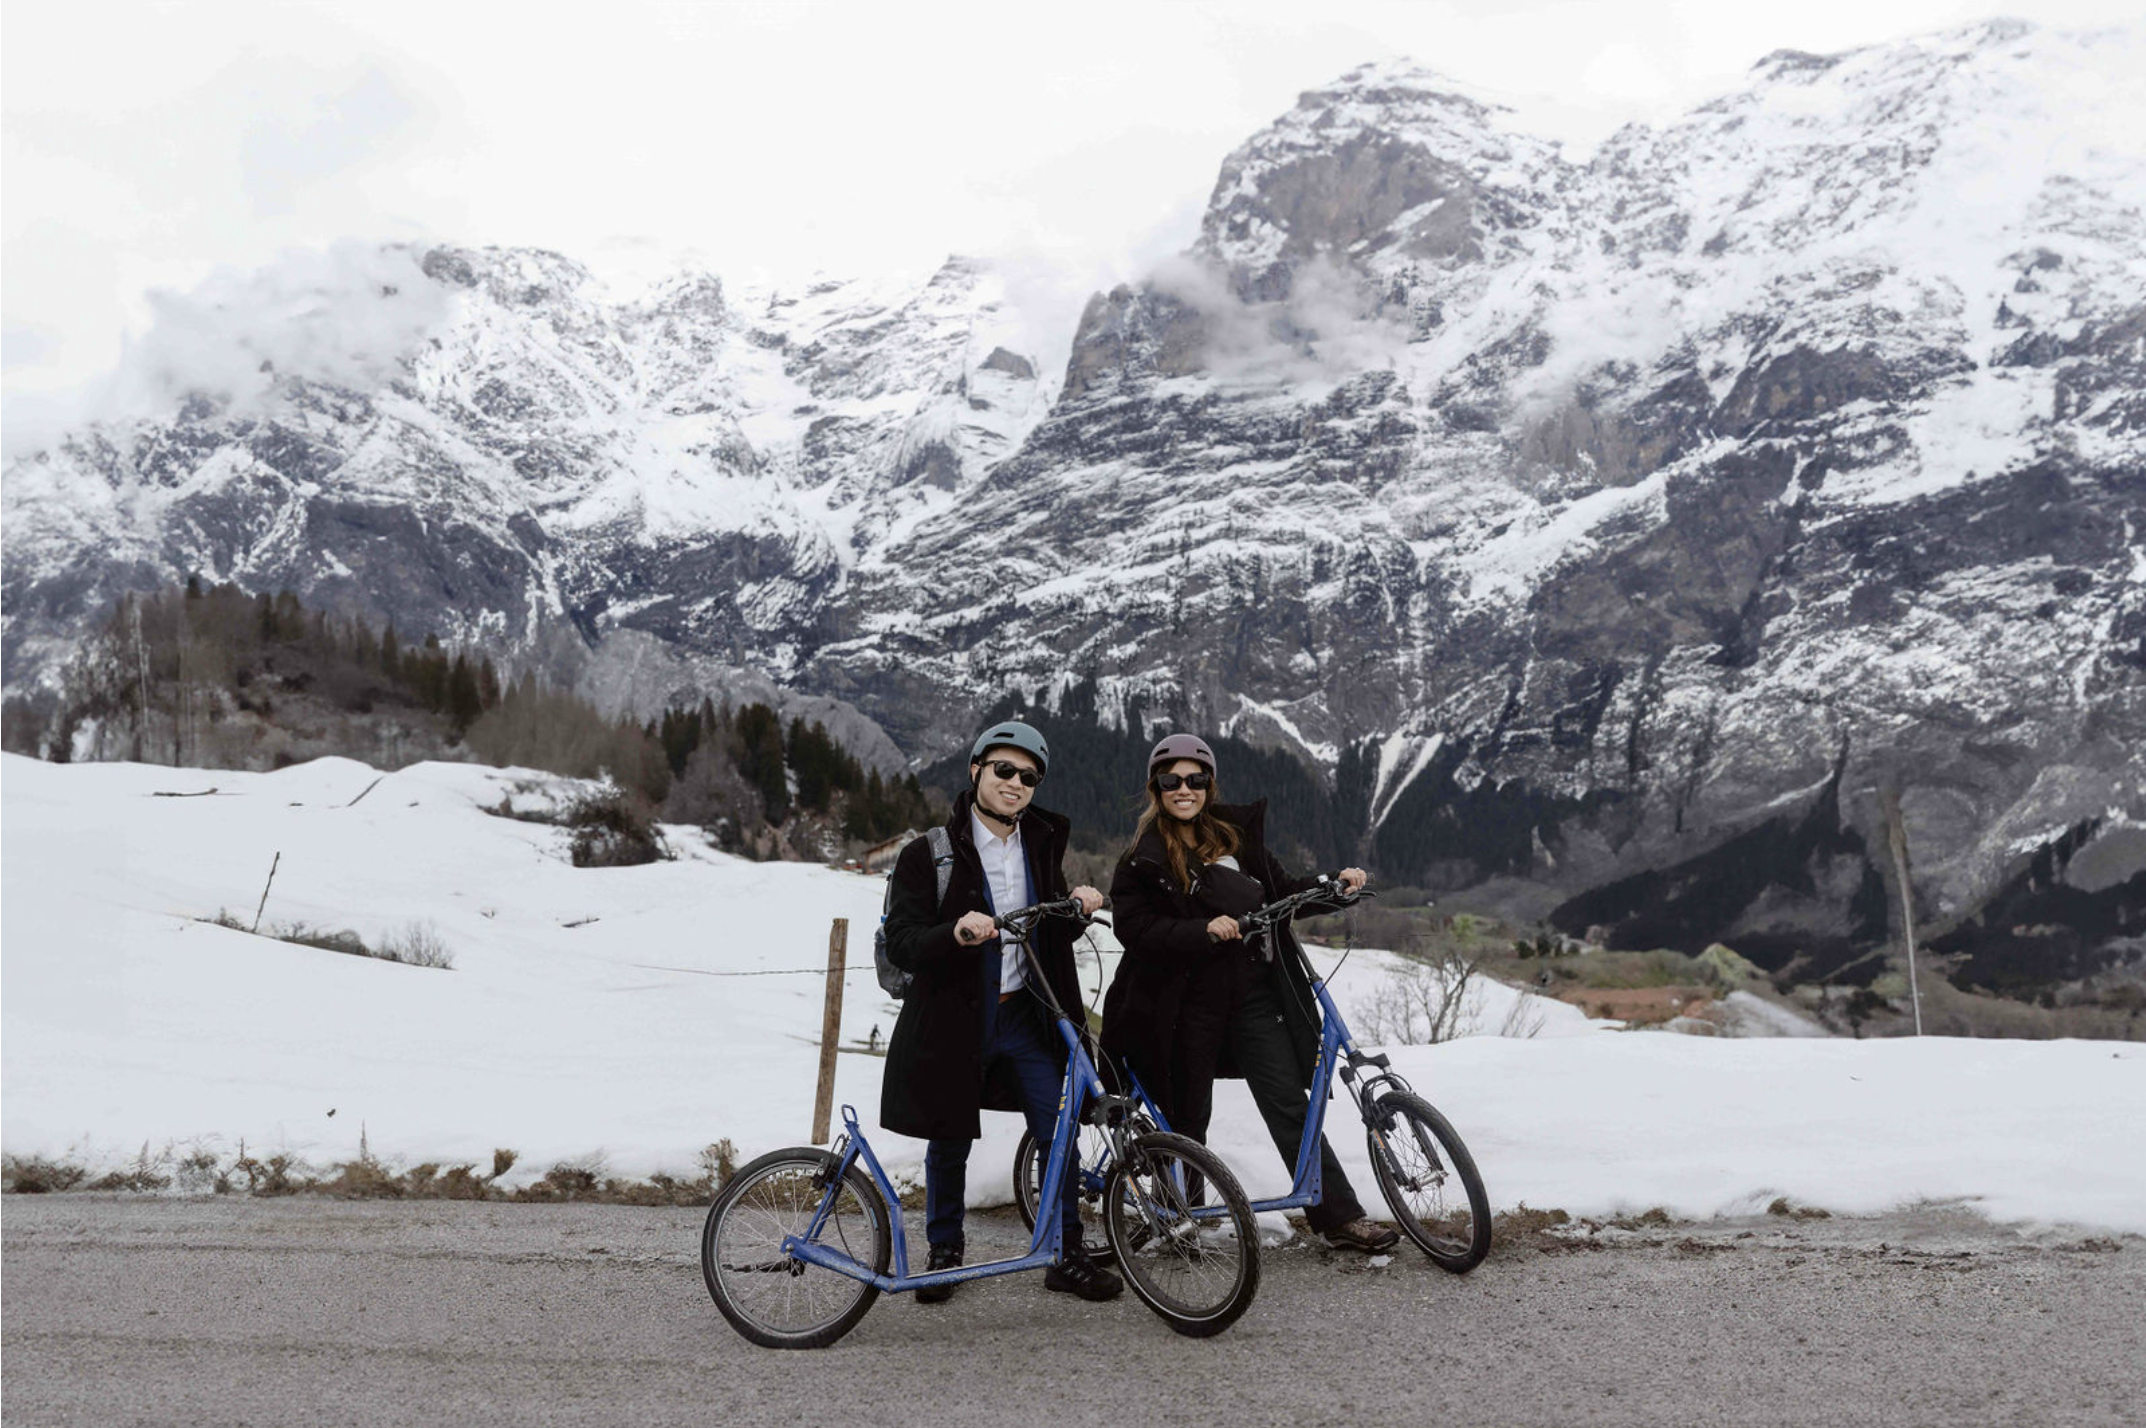
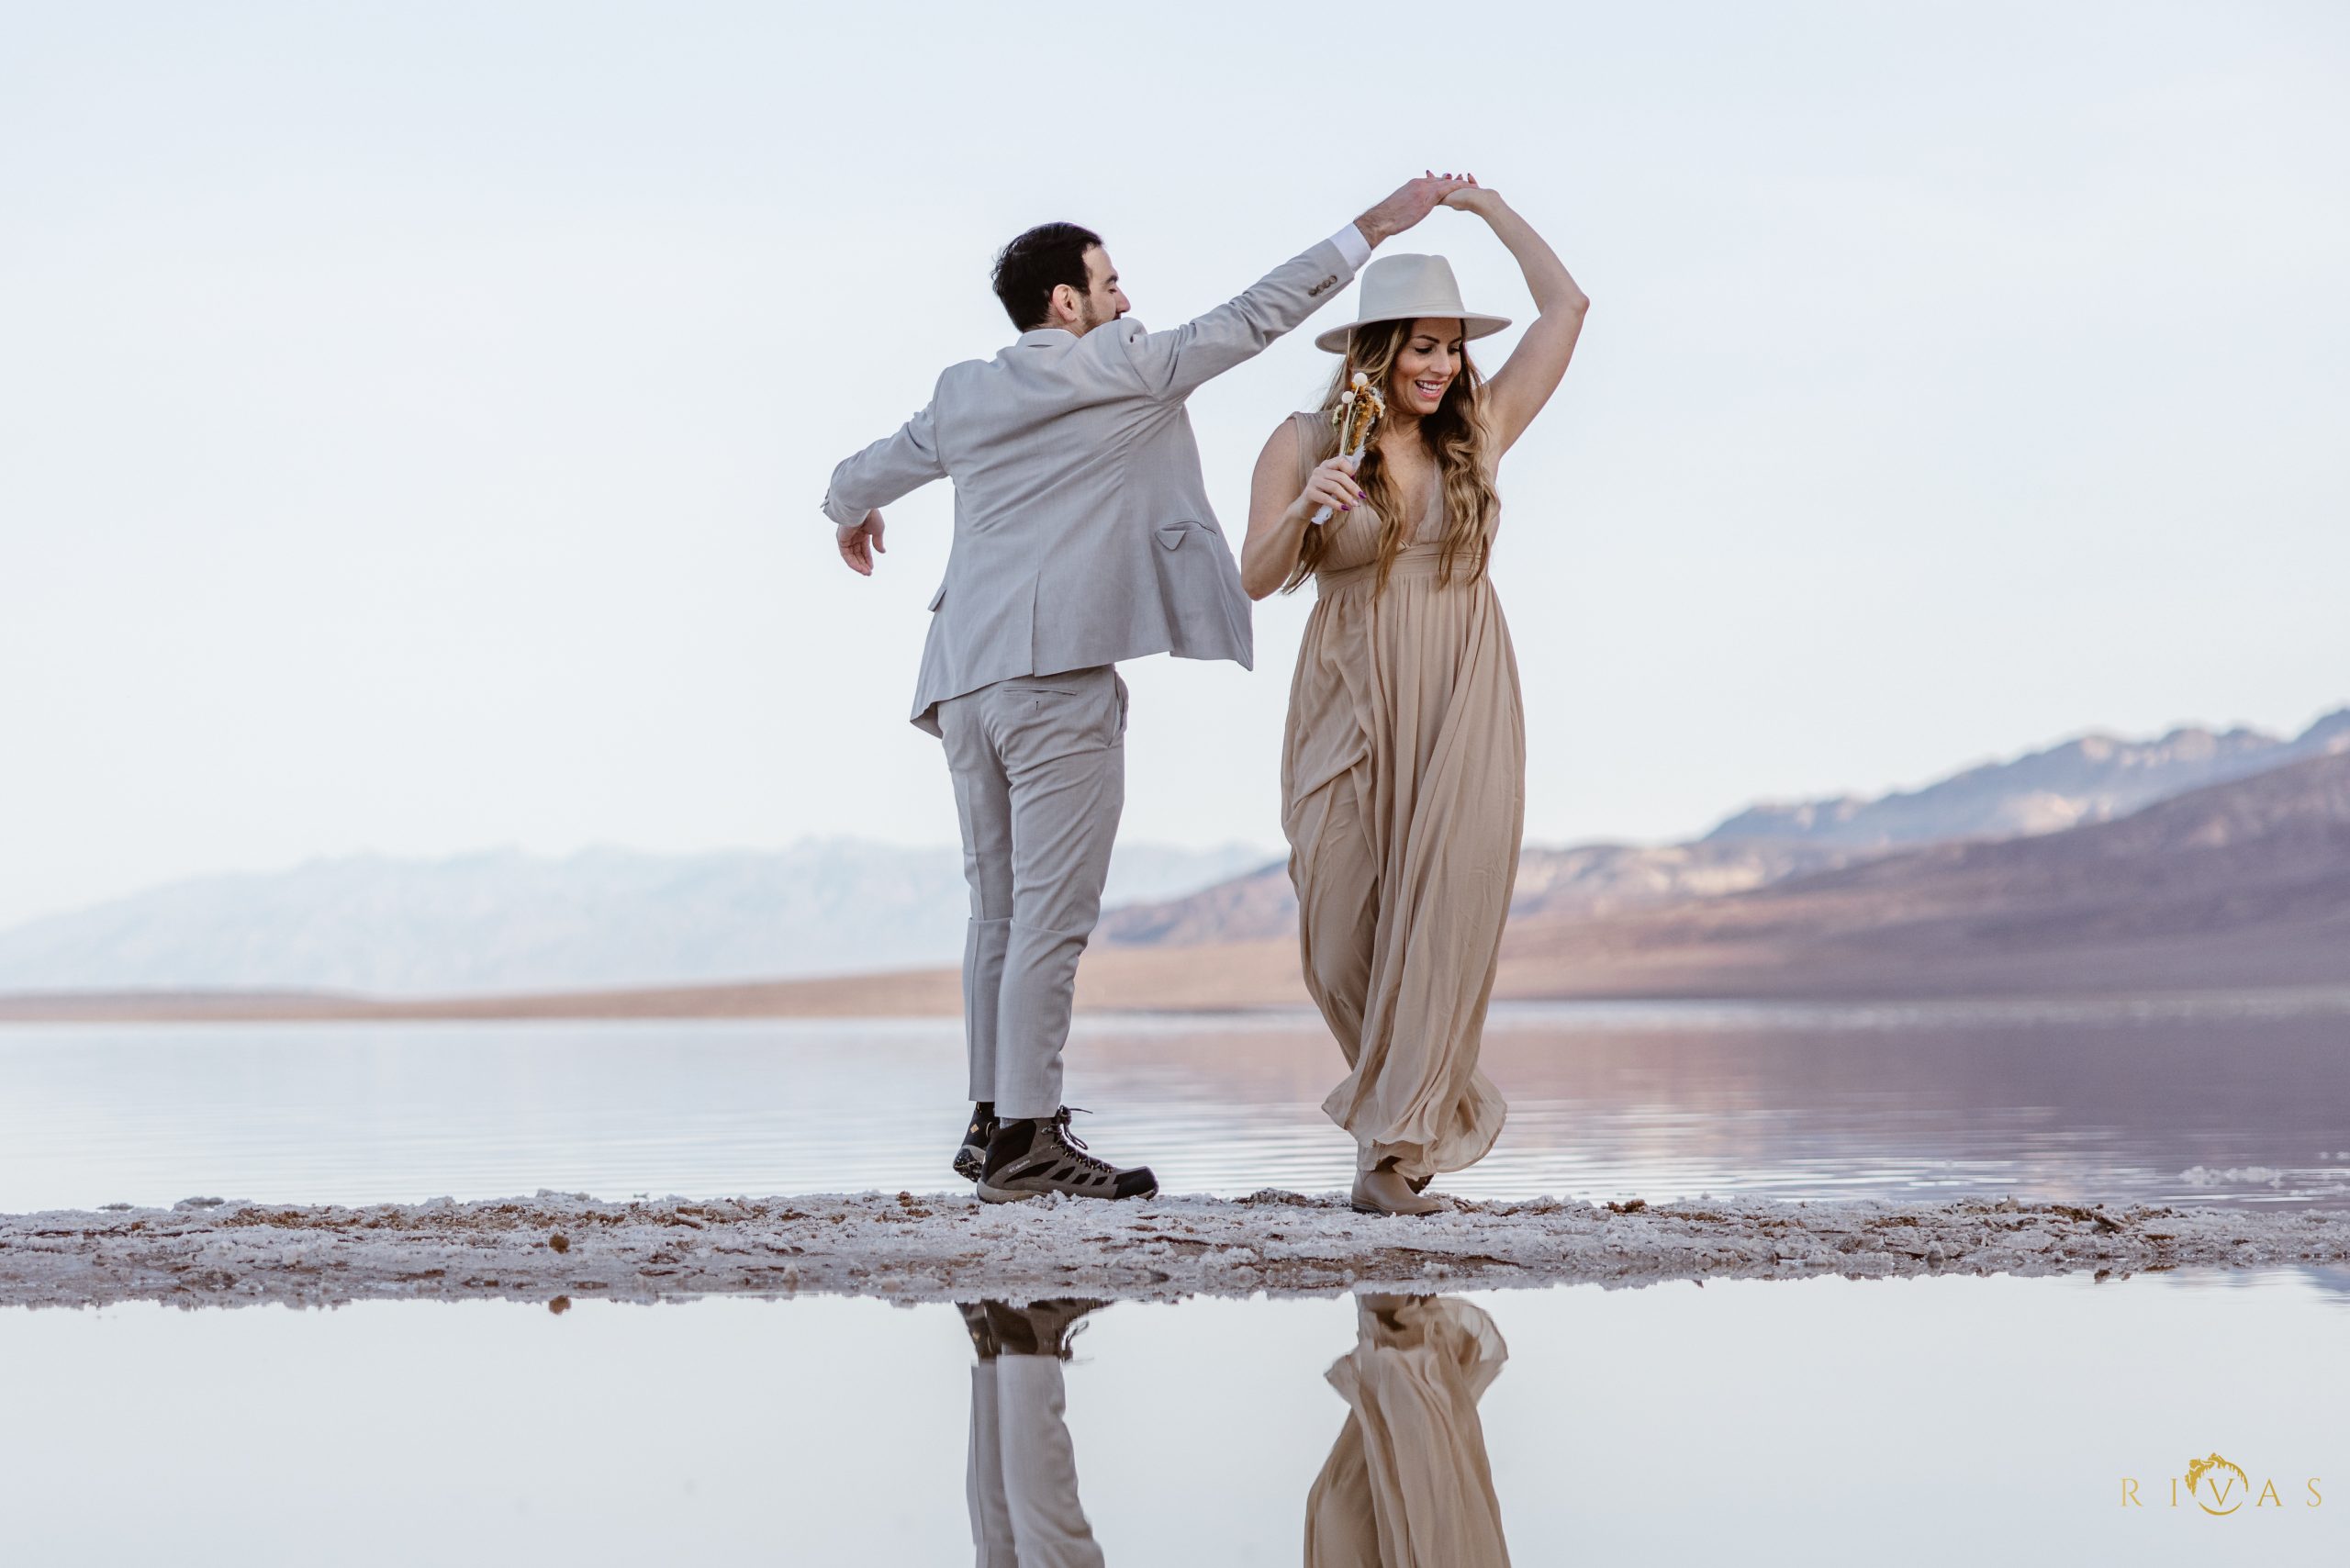
Hugo and Ivonet eloped in Death Valley in February 2024 — the rare year Lake Manly reappeared at Badwater Basin. Their entire elopement was a 3-day weekend, and the way they structured it is a great template for a multi-day adventure elopement.
Day 1 (Friday): Drove in from LA, set up camp, sunset at Zabriskie Point, dinner under the stars. The whole day was about arriving, not performing.
Day 2 (Saturday — Elopement Day): Pre-dawn departure for Badwater Basin, sunrise ceremony on a tiny island in Lake Manly, late breakfast, afternoon exploring Artist's Drive, sunset picnic at Mesquite Sand Dunes (where Hugo serenaded Ivonet on the dunes — true story).
Day 3 (Sunday): Sunrise at Dante's View, slow morning, drive home.
Why buffer time saves the day.
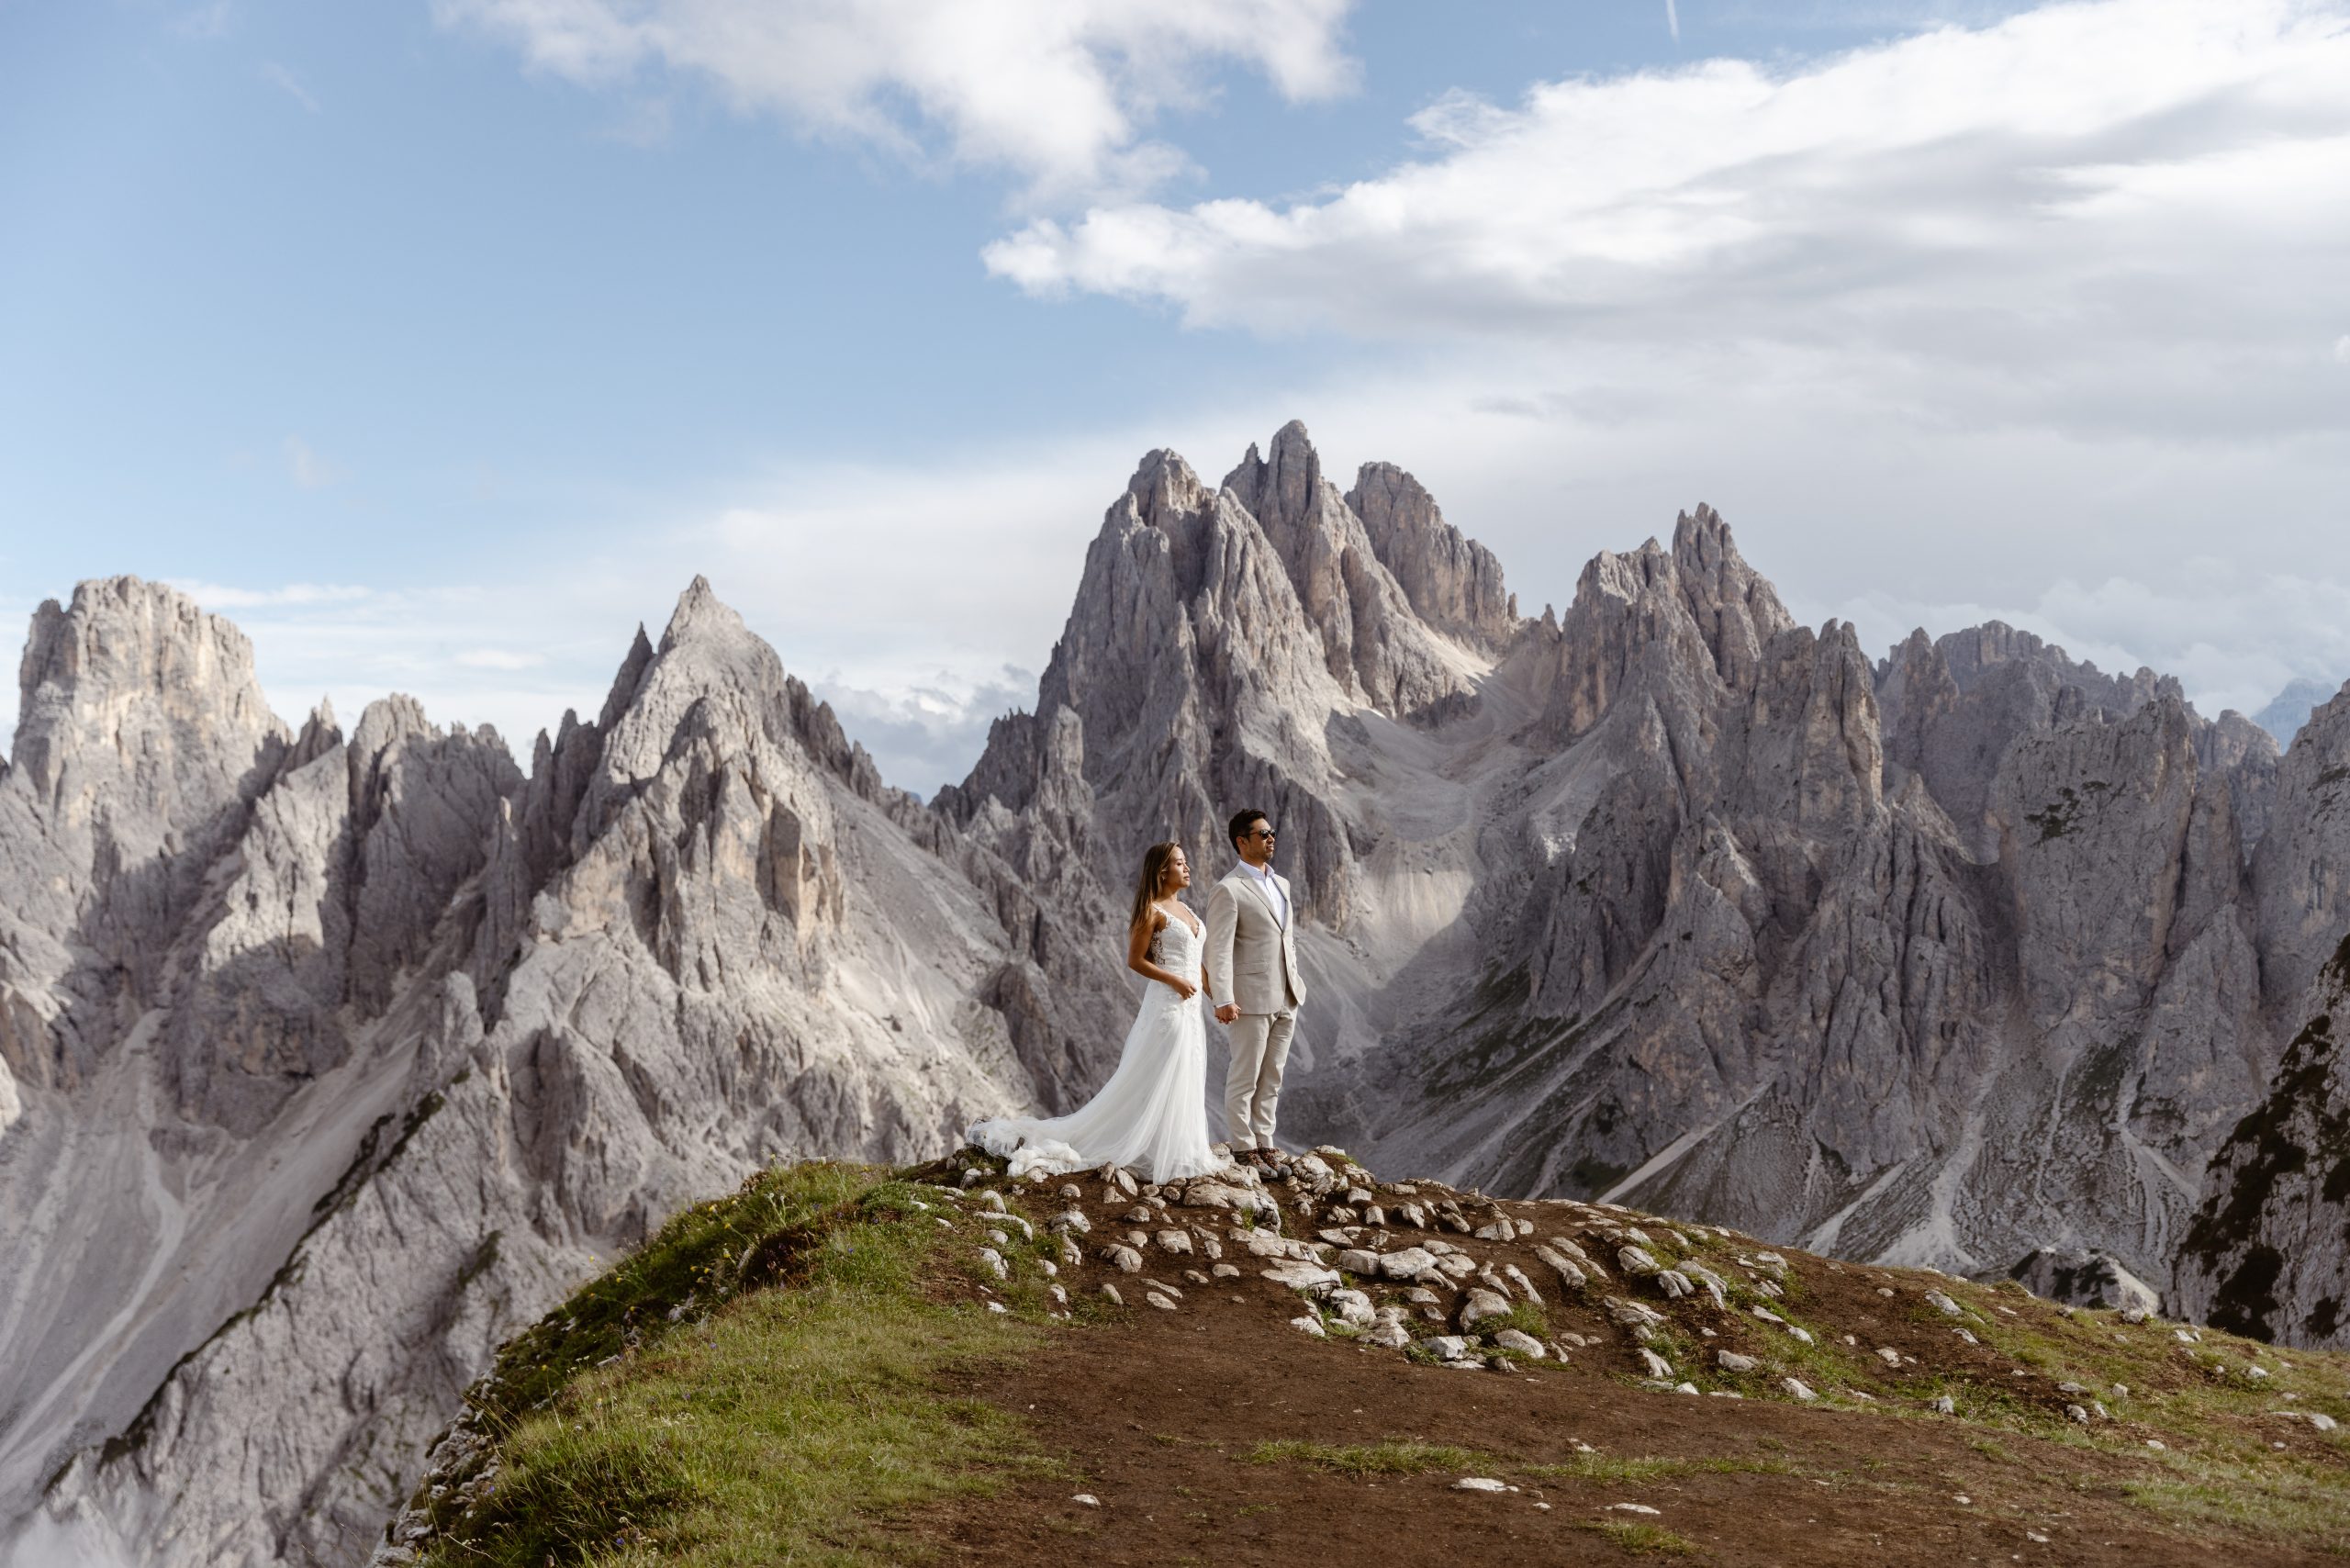
Rachel and Ned's Dolomites elopement was scheduled for Tre Cime and Lago di Misurina. The forecast that morning called for a guaranteed thunderstorm between 1pm and 3pm. Most photographers would've rescheduled. Most couples would've panicked.
Because we'd built a flexible day with buffer time everywhere, we just moved the schedule. We started shooting at 9am, knowing we had a window before the weather hit. By noon, the storm rolled in. We took shelter in a mountain refugio for an hour while the rain passed. Almost everyone else on the mountain packed up and went home.
By 3pm, the rain stopped. We drove down to Lago di Misurina expecting it to still be busy from earlier in the day — and it was completely empty. The clouds were sitting low against the mountains in this dramatic, moody way that only happens after a summer storm. We had one of the most photographed locations in the Dolomites entirely to ourselves for two hours.
A few practical rules we live by.
- Pad travel time by 50%. If Google says 30 minutes, plan 45. If it's 1 hour, plan 90. Mountain roads, traffic, scenic stops — you'll never regret arriving early.
- Schedule a real meal off-camera. One meal during the day where neither the camera nor the timeline is the focus. You need this for energy and for sanity.
- Plan the day around the light, not the other way around. Ceremonies in midday harsh light always look worse than the photographer can save in editing. Move the ceremony to the magic hour, not the other way around.
- Trust your photographer's input. A photographer who's done 50+ elopements knows where the light hits at what time, where parking gets full, and where to shelter from a storm. Use that knowledge.
- Account for elevation and weather changes. Mountain conditions can change 30 degrees between sunrise and noon. Bring layers. Build in time for outfit/wardrobe adjustments.
- Don't try to see every viewpoint. Pick 2-3 great locations and spend real time at each one. A rushed visit to 6 spots is worse than a slow visit to 3.
- End the timeline before sunset, not after. Build in 30 minutes of post-sunset time at minimum — blue hour is gorgeous and almost no one shoots in it.
The bottom line.
A great elopement timeline isn't measured in how much you fit in. It's measured in how present you got to be. The day you remember in 20 years is the day where you weren't checking your watch.
Build a strong skeleton. Protect the moments that matter. Pad the travel time. Trust the buffer. And let your photographer help you build it — that's part of what we're here for.
Need help building
your timeline?
Every couple we book gets a custom timeline built around their location, their adventure plans, and the light. Let's talk about what your day could actually look like.
Send an Inquiry →